

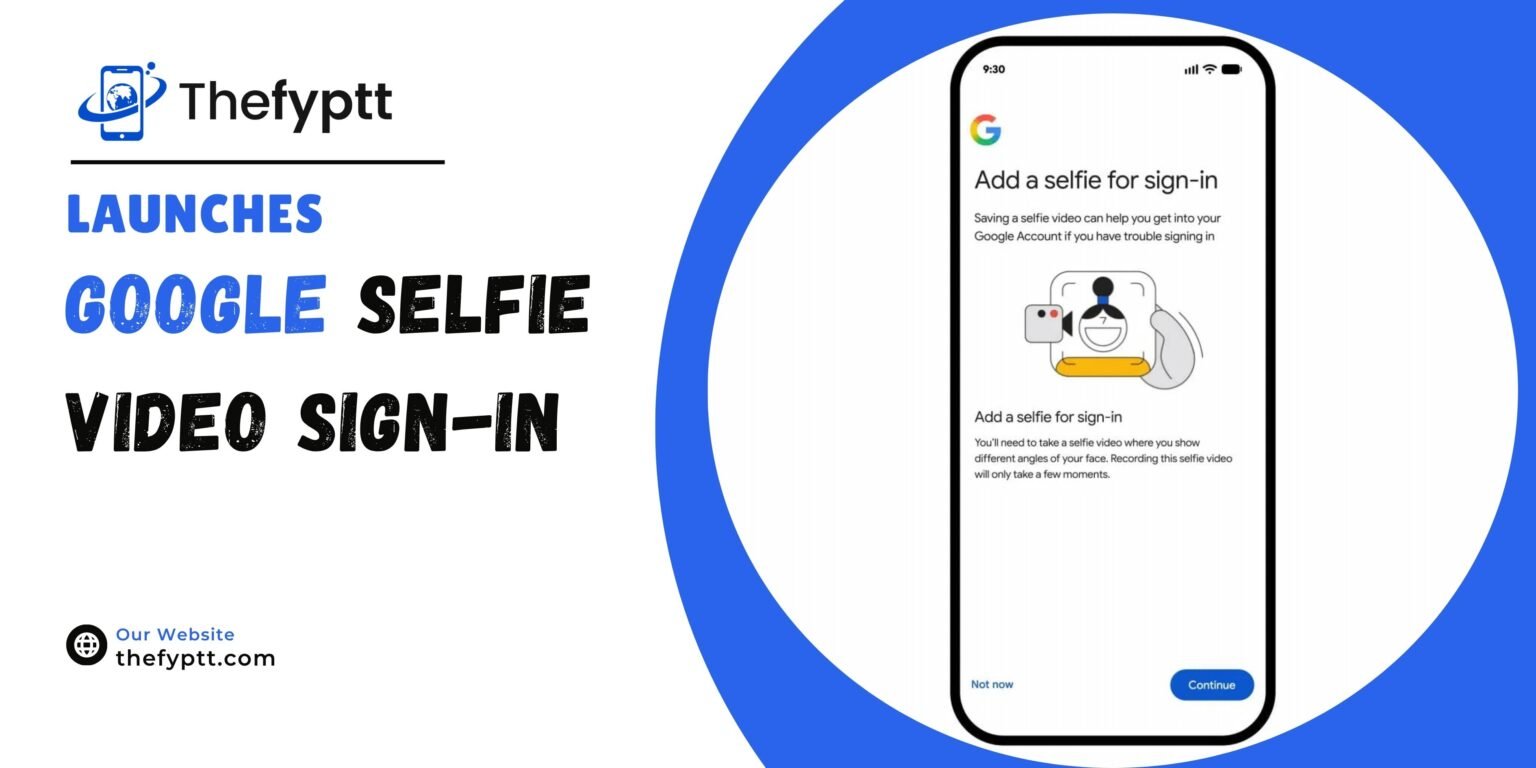

Google has introduced a new way to sign in to Google Accounts called Selfie Video. The feature lets users verify their identity using a short recorded video of their face, offering a backup option for people who forget their password or lose access to their usual phone or computer.
How It Works
Users first set up the feature by recording a short reference video through their device camera. During setup, they are guided to perform a few simple head movements so the system can capture their face from multiple angles.
Later, if someone is locked out of their account, they simply record a new selfie video. Google compares this new video against the one saved earlier. To prevent spoofing, the system also requires the user to perform live movements during the check, helping confirm the video isn’t a photo, recording, or deepfake.
Users whose computers don’t have a camera can complete the process using another device, such as a phone, via a QR code handoff.
Privacy and Security
According to Google, the selfie video is stored in encrypted form and can be deleted by the user at any time. By default, it is used only to help with sign-in. Users can optionally choose to let Google use the data to help improve its facial recognition, age estimation, and identity verification technology.
Google says multiple layers of security are built into the process to prevent impersonation attempts, including fake photos and deepfake videos.
Who Can’t Use It Yet
The feature is not currently available for:
- Google Workspace accounts
- Child accounts
- Accounts enrolled in Google’s Advanced Protection Program
Not a Replacement, But a Backup
Google has clarified that Selfie Video is meant to be an additional recovery option, not a replacement for existing methods like passkeys, recovery phone numbers, or recovery emails. The company recommends users set up multiple sign-in and recovery methods for better account security.
How to Set It Up
Eligible users can go to the Security & Sign-in section of their Google Account, select the Selfie Video option, and follow the guided setup prompts.